Home
Nursery Inspiration & New Mom Advice
Lions, Tigers, and Bears, Oh My - Nursery Decoration Inspiration & DIY Felt Banner
Lions, Tigers, and Bears, Oh My - Nursery Decoration Inspiration & DIY Felt Banner
on Sep 05 2018

It's taken me a while to muster up the energy to finally get on to the world wide web and finally type all of this out considering I'm expecting my first child in a few weeks! There are so many things that are involved in preparing for your little one that take up so much of your time, energy, and, well, let's face it, brain power! It's amazing that I'm able to still manage my full time job and continue adding new products to this shop weekly and put together all things baby before her arrival.
Which brings me to this post! Without further ado, I bring you...our first nursery:

|

|
The backdrop to the crib was created by a dear friend of mine who hosted my shower. It doubled as our photo wall at the party! Here's a picture of me and my little sister from the shower.

I also painted these 3 paintings for her which can be downloaded from our website!
Another key element to our nursery decorations was the name banner that I created for our future bundle. Below I'll explain how it was put together.

|

|
Supplies You'll Need:

- Beads for the Center of the Flowers - I used some multi-sized pearl beads
- Jumbo Rick Rack in the color of your choice
- Jute Thread
- Background Color Felt - depending on how many letters in the name, you'll need 1 per every 2 pendants (2 pendants/page)
- 1 Dark Colored Felt for Flower Centers (I used navy)
- 1 Green Colored Felt for Leaves
- 4 White Felt Sheets for the circles
- 1 Varying colored sheets for flowers
- 1-2 sheets of letter colored felt (I used light pink)
- Hot Glue Gun with sticks (I used about 3-4 for this project)
- White, Pink (for the letters), and Turquoise (for the rick rack border) thread
- Sewing Machine
Getting Started
- First things first, you'll need to cut your shapes. Cut the number of pennants you need to complete your project. I started by printing off a template and using a water soluble fabric pen to trace the shapes on the sheets.


- Next, you can either sew the rick rack ribbon on to the pennants or hot glue them on. My intention was to sew them, but my sewing machine was on the fritz so I decided to hot glue it this time while it was in the shop.


- Next, the letters need to be traced and cut out. Late in the project I decided to add the white circles to center in the letters of the pennant, but now would be a good time to do this as well. I wanted to minimize the amount of blue on the front of my letters as much as possible so I traced the letters on the back.

- The next steps will depend on your personal preference for the types of flowers you would like to include in your project. I'll show you how to make each flower type.
Poppy Flowers
- Cut out approximately 8-10 petals and use a contrasting color to make your flower center.


- Take a bead to use as a center for your flower. I used a straight pin to hold it in place as I wrapped the felt around the bead.

|

|
- Take 4 of your petal shapes and glue them to the base of the center of the flower you just glued together.


- Repeat for a second layer; glue to on top of the bottom of the flower.
Circular Flowers
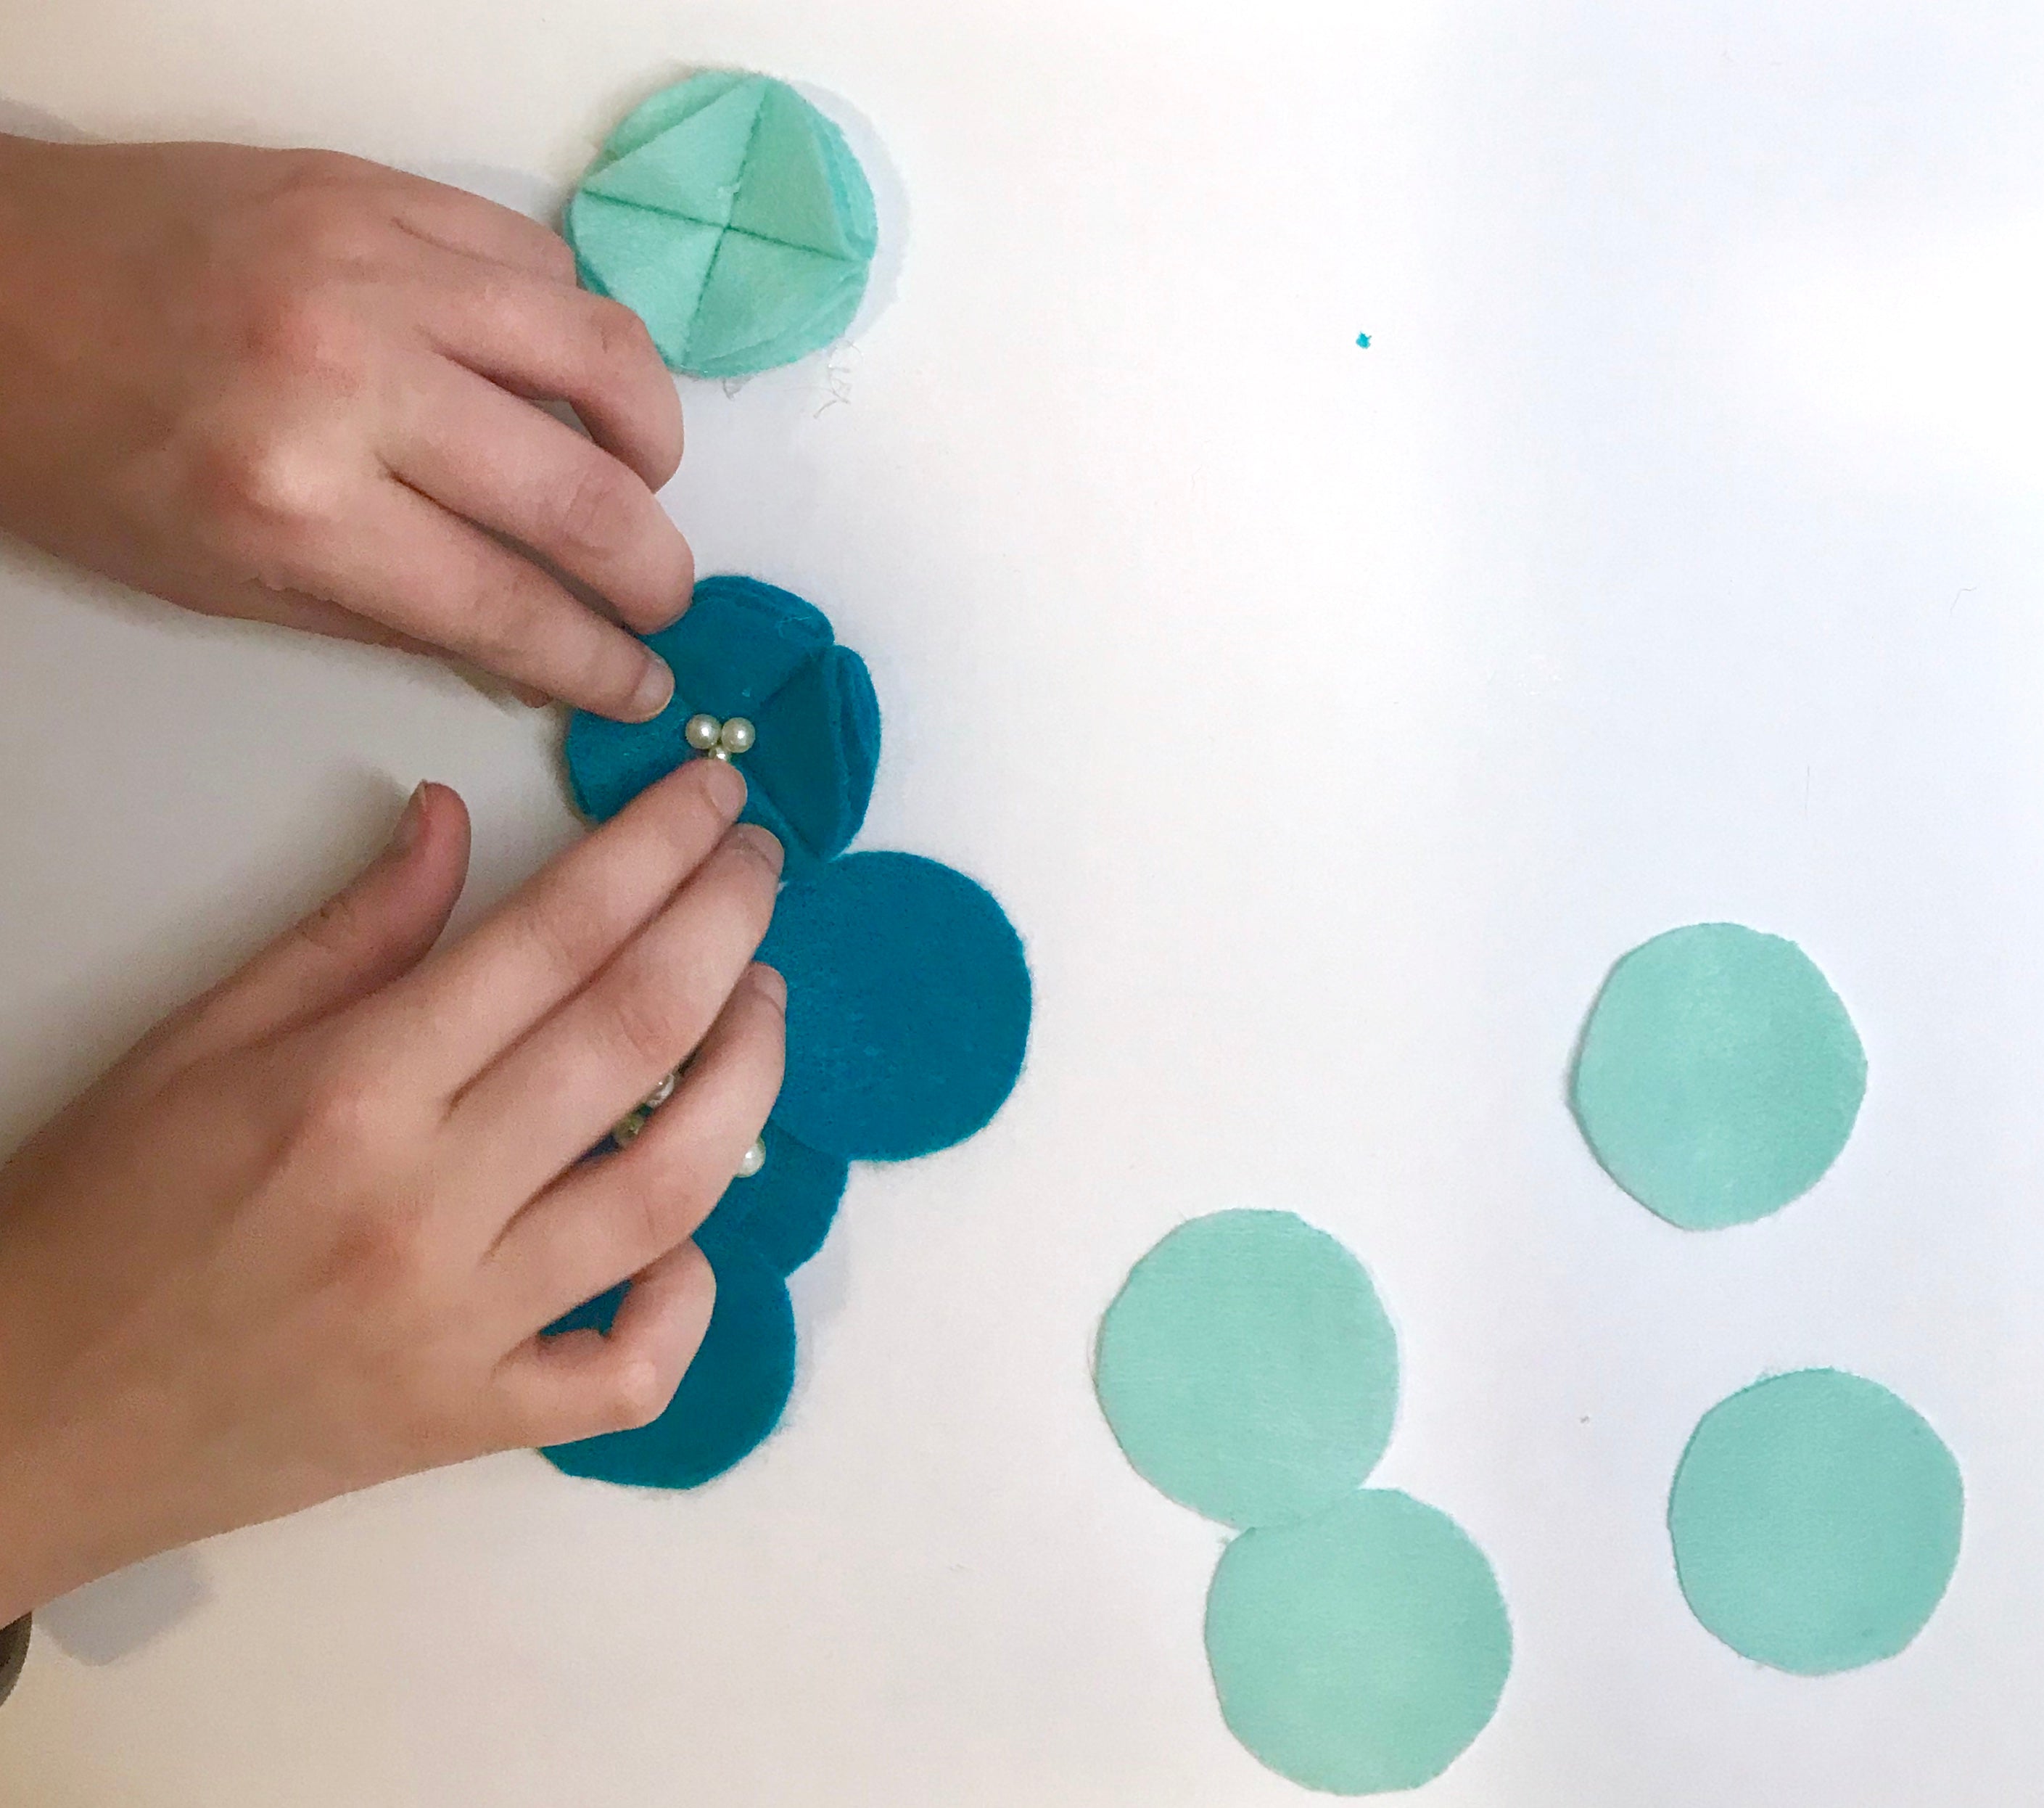
- Cut 4 circles of felt. I used a vitamin bottle lid which was approximately 2" in diameter. The final dimensions of your flower will be approximately the same as the circles you cut.

- Fold each circle into quarters and glue the exposed folded sides together.

- Glue the exposed folded sides of 2 quarters together until you have 2 semi circles.

- Glue the semi-circles together.
- If desired, add beads to the center of your flower to give it some dimension.


